Auto Glass Repair
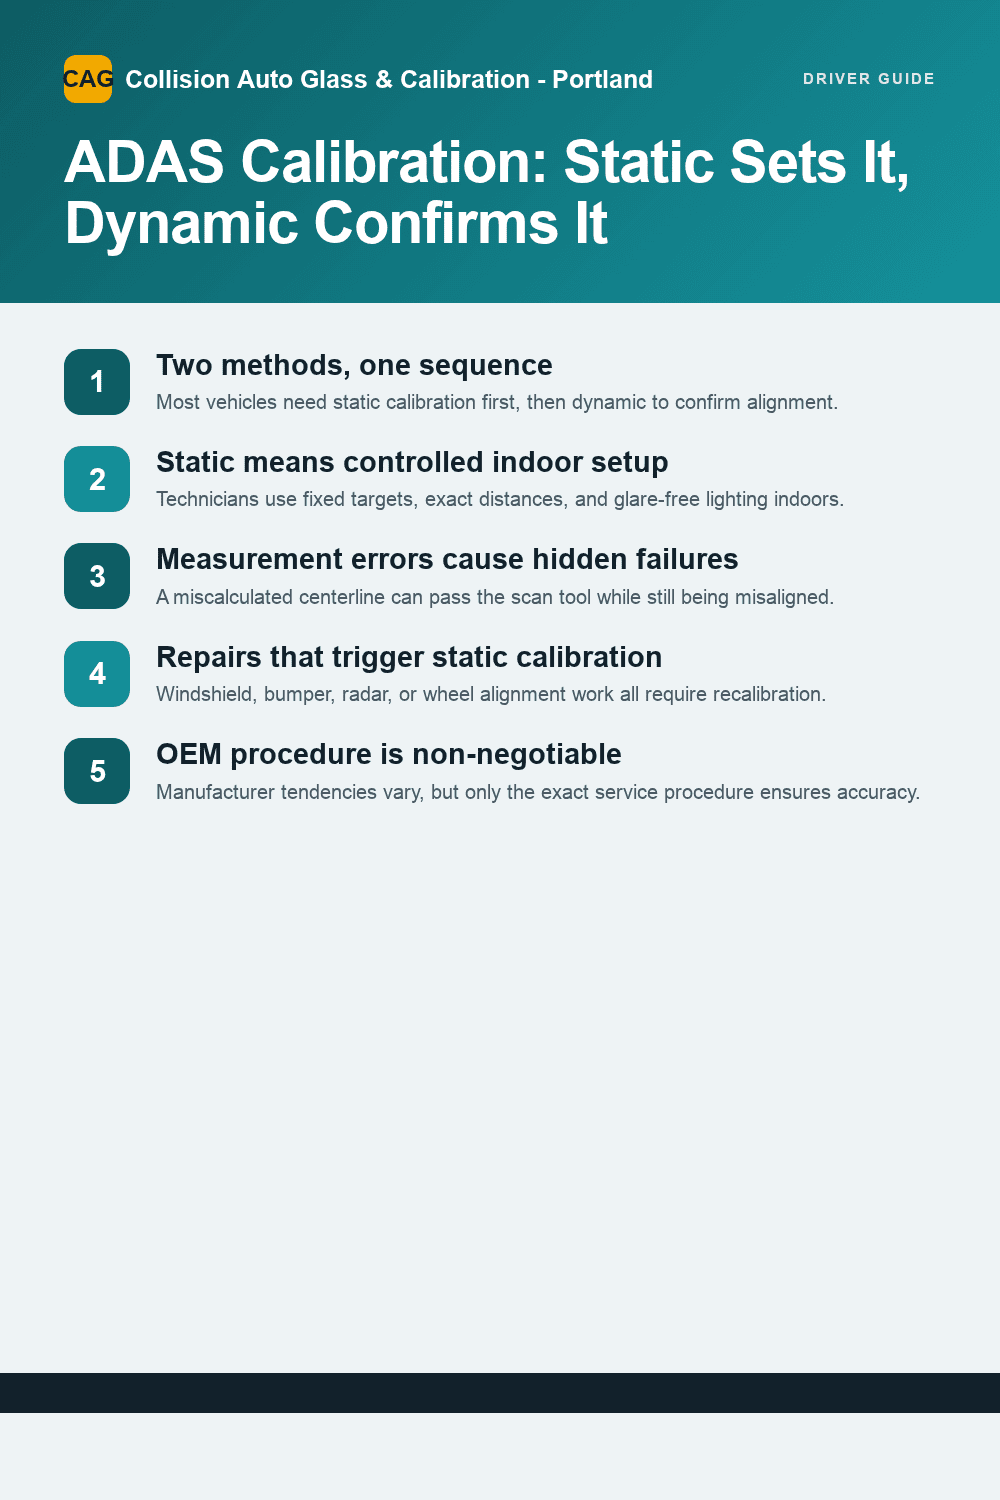
Static calibration aligns ADAS sensors indoors using fixed targets and precise measurements, while dynamic calibration validates that alignment during an actual road drive. Most modern vehicles need both in that order: static sets the geometric baseline, then dynamic confirms it against real-world conditions. Always follow the OEM service procedure for the exact year, make, model, and trim. There is no universal shortcut.
TL;DR:
- Static calibration requires precise indoor setup with fixed targets, and any measurement errors can result in subtle misalignment that may go unnoticed.
- Performing static calibration is mandatory after windshield or bumper repair because it sets the baseline geometry for sensors, which is essential for correct operation.
- Dynamic calibration involves driving the vehicle over a specific distance at regulated speeds to verify sensor alignment against real-road conditions, but weather and traffic can interfere with accuracy.
- The best outcomes happen when technicians follow the exact OEM procedures, combining static and dynamic calibration steps in the correct sequence, regardless of shop preference.
- Both methods can be performed in-house, but the process demands careful preparation, measurement precision, and proper route selection to avoid costly errors.
Table of Contents
- What Is Static Calibration and Why Shops Use It?
- How to Perform Static Calibration: Setup, Tools, and Common Mistakes
- When Is Static Calibration Required?
- What Is Dynamic Calibration and Why Some Systems Need It?
- How to Perform Dynamic Calibration: Drive Parameters and Failure Modes
- Static vs Dynamic Calibration: A Side-by-Side Comparison
- Shop-Ready Workflow and Technician Checklist
- Why Most Advice on This Topic Oversimplifies It
- Get Static and Dynamic Calibration Done Right, in One Visit
- Sources
- FAQ
What Is Static Calibration and Why Shops Use It?
Static calibration happens indoors, with the vehicle parked and stationary while a technician positions calibration targets at exact distances and angles specified by the manufacturer, following guidelines to cut glare and avoid visibility issues that can impact sensor accuracy. It’s the controlled-lab version of ADAS calibration: no traffic, no weather, no guesswork about lane markings.
The method aligns forward-facing cameras, radar units, and, on some newer vehicles, LiDAR sensors. Each system gets “shown” a known reference point so it can recalculate its position relative to the vehicle’s centerline. Because static calibration is performed indoors with targets at OEM-specified distances and angles, it produces highly repeatable results, assuming the setup itself is accurate.
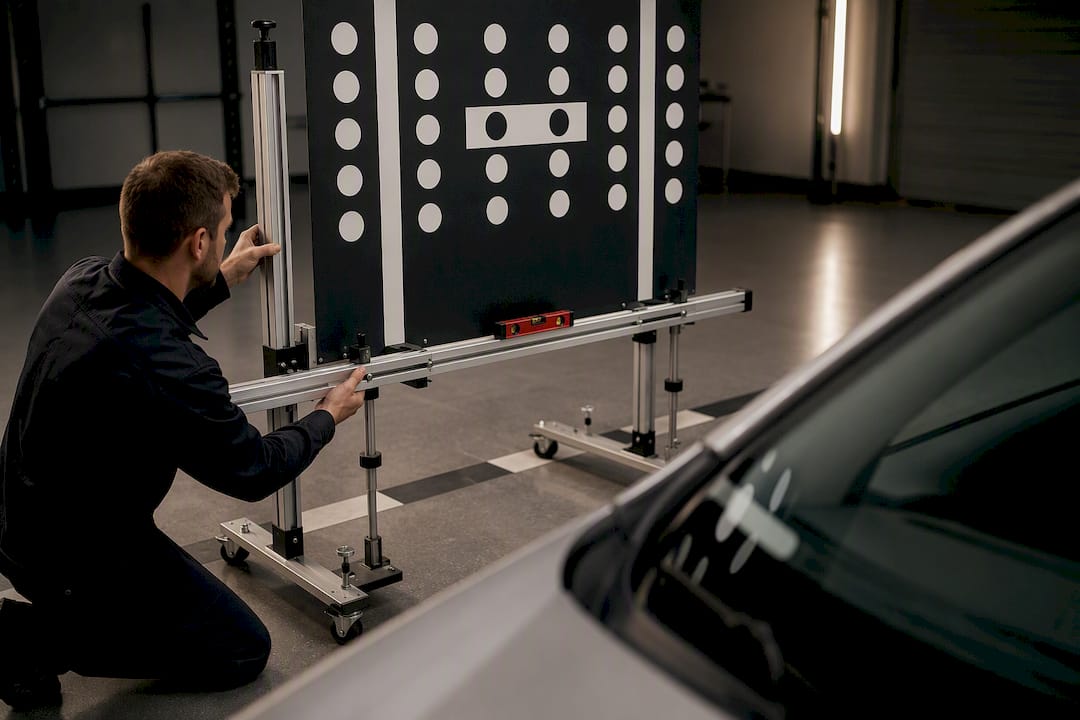
That repeatability is exactly why manufacturers like static procedures for certain systems. A camera that needs sub-degree accuracy doesn’t tolerate the variability of a public road. Give it a fixed target under even lighting, and it calibrates the same way every time.
Static calibration typically involves:
- A level shop floor with enough clear space for target placement at OEM-specified distances
- Calibration frames or stands holding printed targets, reflectors, or patterned boards
- Controlled, glare-free lighting so cameras read targets cleanly
- A scan tool connected throughout to initiate and confirm the procedure
The tradeoff is setup sensitivity. Static calibration trades road-condition risk for setup risk: everything is controlled, so human measurement error becomes the dominant way calibrations fail.
How to Perform Static Calibration: Setup, Tools, and Common Mistakes
Getting static calibration right starts before the targets ever go up. The vehicle itself has to be in its factory-intended state, and the bay has to meet dimensional requirements the OEM procedure specifies down to the inch.
- Prep the vehicle. Fill the fuel tank to the level specified in the procedure, set tire pressures to placard spec, and clear any extra cargo or payload that would tilt the ride height.
- Establish the centerline. Measure from fixed reference points (usually wheel centers or specific body points) to set a true centerline the targets will align against.
- Confirm bay dimensions. Check that you have the clear floor space, ceiling height, and target-to-bumper distance the OEM procedure calls for.
- Set up equipment. Position the calibration frame, targets, and reflectors using laser gauges for precision, then chock the wheels so nothing shifts mid-procedure.
- Run the scan tool. Initiate the calibration and watch for error messages tied to target detection or geometry.
The most common failures aren’t equipment failures. They’re measurement failures. Target tilt of even a couple of degrees, glare bouncing off a target’s surface, or an uneven section of floor throwing off the centerline calculation can all produce what looks like a completed calibration but isn’t correctly aligned.
Pro Tip: Measure your centerline and target distances twice, using two different reference points if possible. A “successful” static calibration built on a slightly wrong centerline will still show a pass on the scan tool. It just won’t be accurate.
When Is Static Calibration Required?
Static calibration isn’t optional when a repair changes the physical relationship between a sensor and the vehicle body. Common triggers include:
- Windshield replacement, since forward-facing cameras mount to or near the glass
- Removal or reinstallation of radar units, typically behind the front grille or rear bumper
- Bumper replacement or structural repair that shifts sensor mounting points
- Wheel alignment changes, which can affect radar aiming angle
Manufacturer tendencies vary. Toyota, Subaru, and Hyundai/Kia models often lean toward static-first procedures, while brands like Honda, Nissan, and Mazda frequently call for dynamic steps instead, according to case comparisons across manufacturer service data. Trim level and model year shift these patterns constantly, so the tendency is a starting expectation, never a substitute for the actual procedure.
Skip a required static step, and the system doesn’t necessarily throw a clear fault. It may pass a basic function check while operating with subtly wrong geometry, which is a worse outcome than an obvious failure because nobody catches it until the system misreads a lane or a following vehicle.
What Is Dynamic Calibration and Why Some Systems Need It?
Dynamic calibration validates sensor alignment while the vehicle is actually being driven, using lane lines, road edges, and other moving vehicles as live reference points instead of fixed targets in a bay.
Some systems are built around this approach because their accuracy depends on how they behave in real traffic, not how they read a printed target. A lane-keep assist camera, for instance, benefits from confirming it can track an actual painted line at highway speed.
Dynamic calibration runs while the vehicle is driven on OEM-specified road profiles, which makes it simpler in one sense: no bay setup, no target frames, less floor space required. That simplicity is also its weakness. Weather, faded lane paint, and heavy traffic can all derail a calibration that would have gone flawlessly in a controlled bay.
Systems commonly relying on dynamic procedures include:
- Lane departure warning and lane-keep assist
- Adaptive cruise control radar fine-tuning
- Some forward collision warning systems, depending on the manufacturer
The appeal for smaller shops is real. Dynamic calibration needs less equipment, but it demands a reliably mapped route and cooperative weather. Without both, a job that should take twenty minutes turns into a repeated ordeal.
How to Perform Dynamic Calibration: Drive Parameters and Failure Modes
A dynamic calibration lives or dies on preparation before the wheels ever move. Skipping the pre-drive checks is the single fastest way to burn an hour on a job that should take fifteen minutes.
- Run a pre-drive scan. Clear existing fault codes and confirm no unrelated issues are present that could interfere with the routine.
- Verify vehicle prep. Confirm fuel level, tire pressure, and sensor cleanliness, since a dirty camera lens can stall the calibration entirely.
- Choose the right route. Most systems require speeds in the 25 to 65 mph range over roughly 5 to 20 miles of clear, well-marked road.
- Drive uninterrupted. Maintain steady speed on straight sections with visible lane lines and minimal traffic.
- Monitor the scan tool. Progress usually displays as a percentage, and it can reset to zero if you brake hard, change lanes unexpectedly, or lose lane markings for too long.
Pro Tip: Map and record one or two reliable drive-test routes near your shop that consistently meet common OEM speed and distance requirements, along with a backup route for bad weather or heavy traffic. Document which route you used in the job file for future reference.
Static vs Dynamic Calibration: A Side-by-Side Comparison
Once you understand the mechanics of each method, the practical differences come down to where they happen and what can go wrong.
| Factor | Static Calibration | Dynamic Calibration |
|---|---|---|
| Where performed | Indoor bay | Public road |
| Reference used | Fixed targets, reflectors | Lane lines, road edges, traffic |
| Primary equipment | Calibration frame, targets, laser gauges | Scan tool, mapped route |
| Environment sensitivity | Low (controlled lighting, level floor) | High (weather, traffic, lane wear) |
| Typical time/distance | 1 to 3 hours setup and run | 5 to 20 miles at 25 to 65 mph |
| Repeatability/failure modes | High, but human measurement error compounds | Variable, resets on braking or lost lane markings |
The table points to a simple rule. Insist on static calibration whenever the OEM procedure calls for it, especially after windshield or bumper work, because its accuracy doesn’t depend on the weather cooperating. Dynamic calibration is entirely acceptable, even preferable, for systems designed to validate against real driving behavior. Sequence matters because a static baseline followed by a dynamic confirmation catches errors that either method alone would miss.
Shop-Ready Workflow and Technician Checklist
A consistent workflow cuts comebacks more than any single tool does. Before touching a target or starting the car, pull the exact OEM procedure for the vehicle’s year, make, model, and trim, and confirm the scan tool software is current.
- Pre-job: Look up the OEM procedure, document prerequisites (fuel, tire pressure, fault codes), and update scan-tool software.
- Static setup: Level the floor, control lighting, and measure target placement to within the ±3 millimeter tolerance technicians rely on, since small misalignments compound fast.
- Dynamic setup: Confirm a mapped route meeting speed and distance needs, with a backup route ready for poor weather.
- Post-calibration: Run a verification scan, photograph the completed report, and file the documentation with the repair order.
Pro Tip: Treat the ±3 mm rule as a floor, not a target. Aim tighter whenever the bay setup allows it, because that margin disappears fast once you factor in target mounting tolerance and floor unevenness.
Reviewing a calibration checklist against the completed job before the vehicle leaves the bay catches the errors a scan tool’s simple pass or fail readout won’t.
Why Most Advice on This Topic Oversimplifies It
The internet’s shorthand version of this topic treats static and dynamic calibration as competing methods, as if a shop picks one the way you’d pick a wrench size. That framing misses what actually determines outcomes.
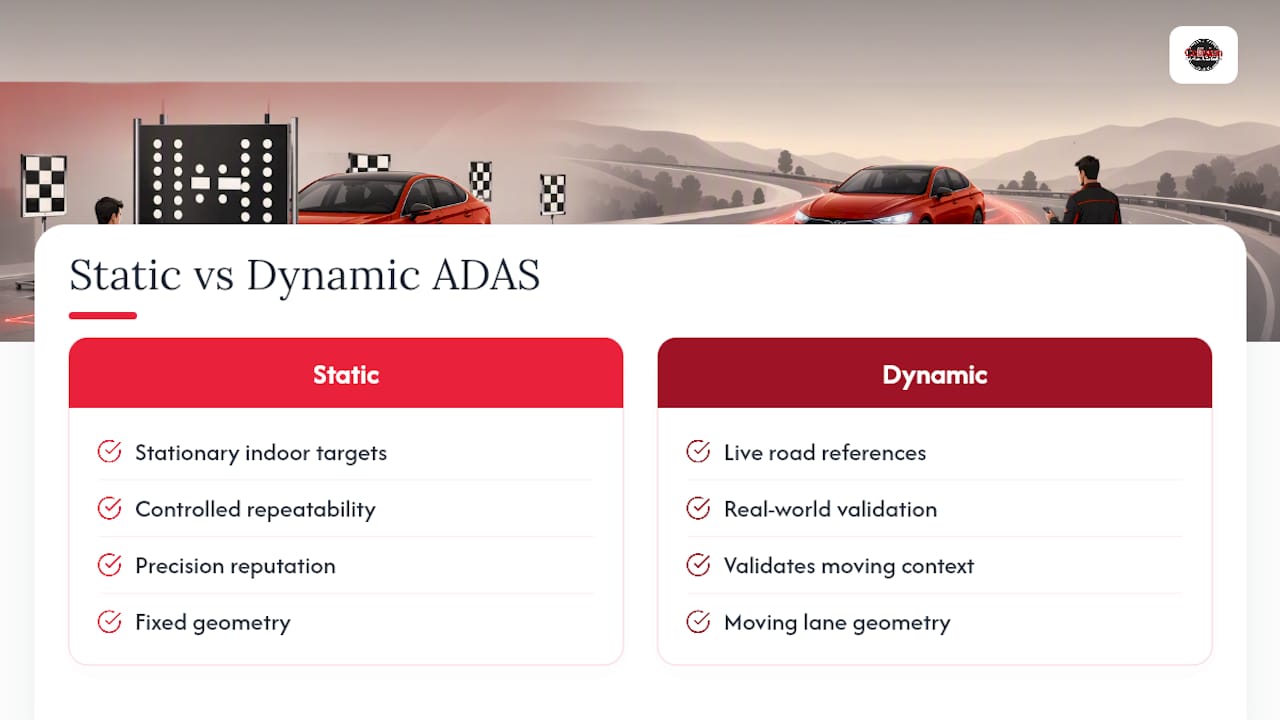
The real variable isn’t which method a vehicle uses. It’s whether the technician followed the exact OEM sequence and hit the measurement tolerances that sequence assumes. A static calibration performed with a two-degree target tilt is not superior to a dynamic calibration completed on a clear, well-marked road, even though static has a reputation for precision. Precision only helps if the setup earns it.
The advice most owners get skips the part that matters most: ask whether the shop pulled the specific OEM procedure for your vehicle’s trim level, not a generic one for the model line. Trim-level variation changes sensor types and required steps more often than people expect. If you ask one question before authorizing calibration work, ask that one.
— Collision Auto Glass & Calibration
Get Static and Dynamic Calibration Done Right, in One Visit
Both static and dynamic ADAS calibration can be performed in-house, so you’re not sent to a second facility after your windshield or sensor work is finished. That matters because so many vehicles need the full sequence, static first, then dynamic, and splitting that across two shops adds time and risk of miscommunication between them.
Every windshield replacement or sensor-related repair includes the calibration your vehicle’s OEM procedure actually calls for. Services may include mobile installation and insurance direct billing to ease the process. If your vehicle needs a windshield replacement paired with proper calibration, request a quote and receive guidance on your vehicle’s required procedure.
Sources
- Static vs. Dynamic ADAS Calibration Explained | ADAS Diagnostic Tools
- ADAS Calibration basics: What it is & when it’s required
- Static vs Dynamic ADAS Calibration: A Deep Dive with Case Examples – ADAS Project
- When is ADAS calibration required? — Astech blog
FAQ
What Are the Three Types of Calibration?
The three recognized approaches are static calibration (target-based, performed in a bay), dynamic calibration (performed while driving), and a combined static-then-dynamic procedure that many modern vehicles require.
Do I Need to Do Dynamic Calibration Every Time?
No. Dynamic calibration is only required when the OEM procedure specifies it for that particular system and repair; some vehicles need static only, others need dynamic only, and many need both in sequence.
Which ADAS Calibration Method Is Best?
Neither method is universally better. Static offers tighter control and repeatability for geometry-sensitive sensors, while dynamic validates real-world performance for systems like lane-keep assist. Collision Auto Glass & Calibration performs both in-house so your vehicle gets whichever sequence its OEM procedure requires.
What Is Static Calibration?
Static calibration is an indoor procedure that uses fixed targets positioned at exact OEM-specified distances and angles to align cameras, radar, and other ADAS sensors without driving the vehicle.
Why Does Sequence Matter Between Static and Dynamic Calibration?
Running static calibration first establishes an accurate geometric baseline; the dynamic step then confirms and fine-tunes that baseline against real road conditions, and skipping either step risks leaving the system with partial or inaccurate function.
Recommended
- What Is The ADAS Calibration?
- Calibration After Windshield Replacement: What You Must Know
- What Happens If ADAS Is Not Calibrated?
- Prove Your Windshield Calibration Is Correct With a Technician Checklist
🎧 Listen to This Article
Share
Recent Posts

September 5, 2026
$20–$1,000+: DIY or Pro for Windshield Molding Replacement
Decide whether to DIY windshield molding replacement or call a pro. See parts costs ($20–$150), shop quotes to $1,000+, plus rust, encapsulation, and...
September 4, 2026
Static First, Dynamic Confirm: ADAS Calibration for Technicians
ADAS guide for technicians: when to run static before dynamic calibration. Includes a shop checklist and one visit workflow....

September 3, 2026
Portland Mobile Windshield Costs: $60 to $800 and When Insurance Pays
Portland mobile windshield costs, from $60 chip repairs to $300–$800 replacements. See when Oregon insurance covers glass and get a free mobile quote....