Auto Glass Repair
Visible rust at the windshield edge almost always means the seal has failed, and a full assessment typically requires removing the glass. Treat this as a safety-related maintenance task, not cosmetic wear. Tiny surface spots on a healthy pinch weld may tolerate a careful DIY patch, but soft metal, holes, or a damp headliner mean you stop and call a professional. Start with a soapy-water leak test around the perimeter today.
TL;DR:
- Rust around the windshield almost always indicates a failed seal that has allowed water intrusion, and it should be treated as a safety concern rather than cosmetic damage.
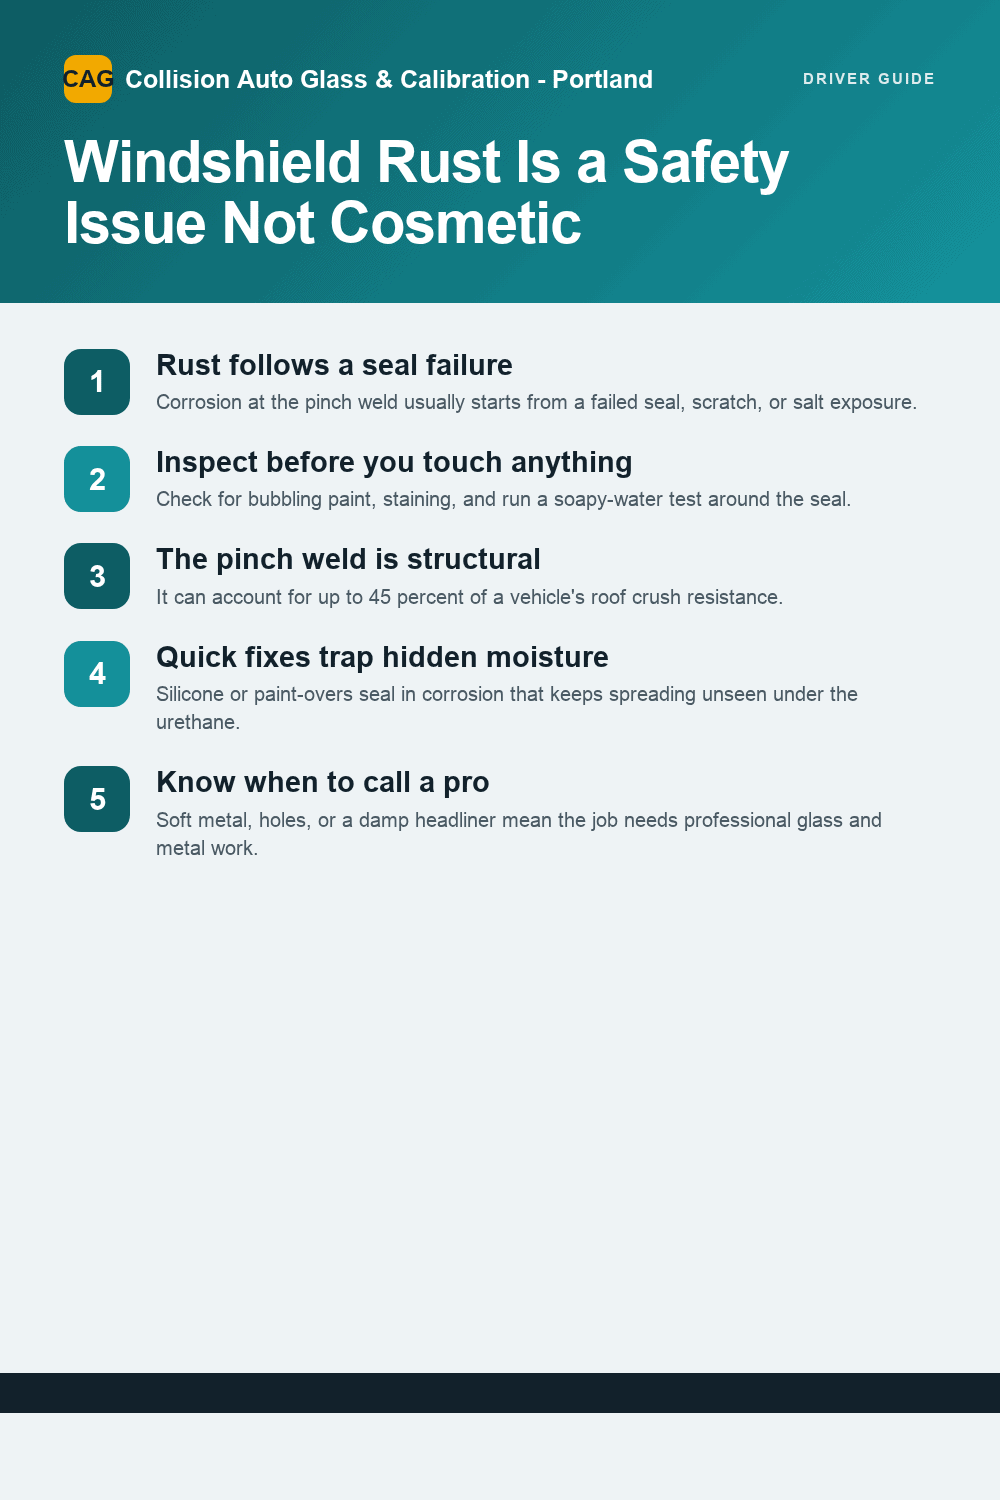
- Inspection involves visual checks for bubbling paint, staining, and moisture, combined with water tests and gentle probing with an awl to assess rust severity.
- Surface rust can often be repaired by careful sanding, chemical treatment, priming, and resealing, but moderate to rot-through damage requires professional metalwork and replacement.
- Rushed DIY fixes like silicone or aerosol rust reformers are temporary solutions, as they trap moisture and fail to address hidden corrosion under the urethane bond.
- Serious rust or holes mean you should seek professional help, as proper repairs involve removal of the glass, structural metal work, and proper urethane resealing for safety and longevity.
Table of Contents
- What Causes Rust Around the Windshield Frame?
- How Do You Inspect for Rust Around the Windshield?
- Why Rust at the Pinch Weld Is a Safety Issue, Not Just Cosmetic
- Repair Options by Severity: Surface, Moderate, or Rot-Through
- DIY Rust Repair: A Step-by-Step Guide for Surface-to-Moderate Cases
- When to Hire an Auto Glass Shop or Body Shop Instead
- How to Prevent Rust From Coming Back
- What Does Rust Repair or Windshield Replacement Cost?
- What Experienced Techs Wish Every Owner Knew
- Get Rust-Related Windshield Damage Assessed by a Professional
- Sources
- FAQ
What Causes Rust Around the Windshield Frame?
Rust at the pinch weld, the metal channel that holds your windshield in place, almost never starts on its own. It follows a breach: a failed factory seal, a scratch left behind during a previous glass replacement, or years of road salt and moisture working into the same low spot every winter. Once the protective coating on that steel is compromised, corrosion can show up within a few months or take years to surface, depending on your climate and how much salt exposure your car sees.
That delay is what makes windshield frame rust so deceptive. The car you bought two winters ago with a “minor chip repair” on record may already have a compromised pinch weld quietly rusting under the trim, invisible until paint starts to bubble at the mold line.
How Do You Inspect for Rust Around the Windshield?
Start with your eyes, then confirm with your hands. A thorough inspection combines visual checks with two physical tests that most owners skip, and skipping them is how small problems turn into expensive ones.
Visual signs to look for:
- Paint bubbling or flaking right along the trim line where glass meets metal
- Orange or reddish staining bleeding out from under the molding
- White or chalky mineral residue on the dash or A-pillar (a sign water has been evaporating there repeatedly)
- Damp spots, mildew smell, or a soft headliner near the top corners of the windshield
Once you’ve scanned the perimeter, run two hands-on checks. First, the soapy-water test: mix dish soap with water, spray it along the windshield’s outer seal, and watch for bubbles forming as you gently rock the glass, or run a hose over it and check inside for drips. Second, press upward on the glass near the corners; a solid bond won’t flex or crackle, while a compromised one might shift slightly or produce a faint popping sound where the urethane has separated from rusted metal.
Grab a flashlight, a small mirror to see under the trim, and an automotive awl. Probe any bubbled paint gently. If the awl sinks in or the metal feels spongy rather than solid, you’re past surface rust. A quick set of photos here, taken before you touch anything, will matter later whether you’re pricing DIY materials or getting a shop quote.
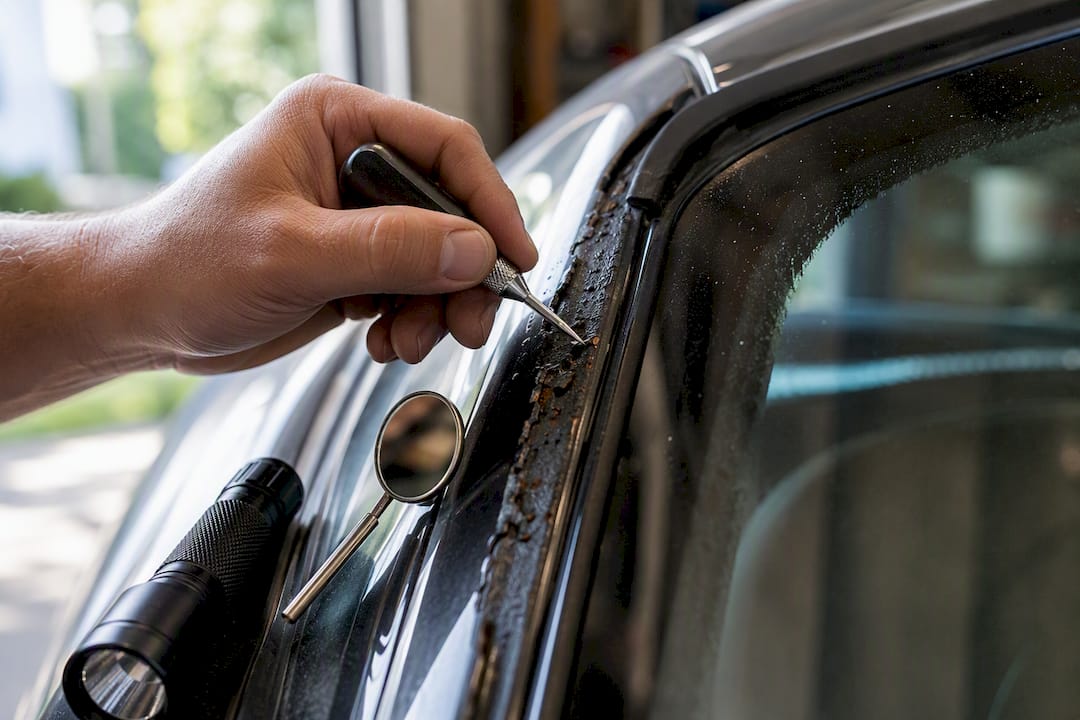
Pro Tip: Photograph rust spots next to a coin or ruler for scale, and take one wide shot showing where the corrosion sits relative to the trim line. A shop can often gauge severity from photos alone before you even bring the car in.
Severity generally falls into three buckets: light surface rust confined to paint and a thin oxidation layer, moderate pitting that has eaten into the metal’s surface, and rot-through where the steel has holes or has lost structural integrity. Which bucket you’re in determines almost everything about your next move.
Why Rust at the Pinch Weld Is a Safety Issue, Not Just Cosmetic
The pinch weld isn’t decorative trim, it’s structural. The bonded windshield contributes to the vehicle’s ability to resist roof crush in a rollover and helps the passenger-side airbag deploy correctly, since many airbags use the windshield as a backstop to direct their deployment path. Industry guidance cited by Carparts puts the windshield’s contribution to roof crush resistance as high as 45 percent on some vehicle designs.
That’s the number that should change how you think about “just a little rust.” Corrosion doesn’t stay put once it starts. It spreads laterally under the urethane bead, and because that spread happens beneath the adhesive, you can’t see it without removing the glass.
This is exactly why surface-only fixes fail so often. Painting over active rust, or caulking around a leak with silicone, traps moisture underneath instead of removing it. The corrosion keeps eating at the metal in the dark, and months later the glass shifts slightly in its channel, the leak comes back worse than before, or, in a genuinely bad scenario, the bond can’t hold the glass in place the way it’s designed to during a crash. None of that is visible from the driver’s seat until it’s already a problem.
Repair Options by Severity: Surface, Moderate, or Rot-Through
Your repair path should match the depth of the corrosion, not your patience level. Here’s how the three severity buckets translate into actual work:
- Surface rust (paint and light oxidation only). Sand down to clean, bright metal, apply a rust converter or phosphoric-acid metal prep, follow with primer, then reseal the glass. This is realistic DIY territory for a patient owner with the right tools.
- Moderate pitting (corrosion has eaten into the metal’s surface). The windshield needs to come out. That means mechanical cleaning plus chemical prep, a pinch-weld-specific primer, and fresh urethane. This is doable for an experienced DIYer but most owners are better served hiring it out, since a poor reseal here is worse than leaving it alone.
- Rot-through (holes or metal you can push a fingernail through). This is body-shop territory: cutting out the compromised section, welding in new metal, and refinishing before the glass shop can even begin its part of the job.
One warning that applies across all three buckets: never use polyester body filler in the bonding area. Filler has no structural role and won’t hold a windshield’s adhesive bead, no matter how smooth it looks once painted over.
Pro Tip: If a shop quotes you a “quick reseal” for what your photos show as pitted or holed metal, get a second opinion. Restoration specialists at HotRod note that microscopic rust left behind in pitted metal reactivates almost every time, even under a fresh bead of urethane.
Watch for the tempting shortcuts, too. Aerosol rust reformers and a bead of silicone squeezed over an old leak feel like a fix, but Autorivet’s guidance is blunt about it: these are temporary at best, and silicone in particular traps moisture against metal rather than sealing it out. They buy you weeks, not years.
DIY Rust Repair: A Step-by-Step Guide for Surface-to-Moderate Cases
If your inspection puts you in the surface or light-moderate bucket, and you’re comfortable with hand tools, here’s the sequence that actually holds up over time. This isn’t a shortcut version. Skipping steps is the single biggest reason DIY rust repairs fail within a year.
Before you start:
- Disconnect the battery if you’re removing trim near wiring or sensors
- Photograph the current condition from multiple angles
- Remove wiper arms, cowl panels, and molding clips carefully; label or bag hardware as you go
- Decide now whether you’re removing the glass yourself or having a shop pull it. Windshields set in urethane are bonded structurally, and cutting one out with a wire or cold knife risks cracking the glass or gouging the pinch weld if you’ve never done it. If your car uses a rubber gasket rather than urethane, removal is more forgiving, but urethane-set glass is the norm on nearly every vehicle built in the last few decades.
- Cut and remove the glass (or have this step done professionally). This is the point where many owners decide to hand the job off, and that’s a reasonable line to draw. A cracked windshield or a torn-up pinch weld from an amateur cut costs far more to fix than the labor would have.
- Grind and sand to bright metal. Use a wire wheel for heavy scale, then finish with 80 to 120 grit sandpaper. You want shiny, uniform steel with zero orange tint left in the pores. Go slow near the edges. Aggressive grinding here is how DIYers accidentally thin the metal and create a new structural weak point.
- Apply a phosphoric acid-based metal prep or converter. This step chemically neutralizes rust that mechanical sanding can’t fully remove from the metal’s pores. Follow the product’s neutralization instructions exactly; skipping the rinse or cure time leaves an acidic residue that undermines the primer coat that follows.
- Prime the repaired area. Bare metal gets a self-etch primer. The bonding surface itself needs a separate pinch-weld primer designed to promote urethane adhesion, not a generic automotive primer. Overlap slightly into the surrounding healthy paint so there’s no exposed seam for moisture to find later.
- Reseal and set the glass. Apply the new urethane bead in a clean V-shape, consistent height throughout, then set the glass using suction cups and seat it evenly so the bead compresses uniformly rather than squeezing out thick on one side and thin on the other.
- Respect the Safe Drive-Away Time. SDAT is specific to the exact urethane product used and shifts with temperature and humidity, sometimes ranging anywhere from one hour to 24 hours depending on the formula. CarParts.com notes that a legitimate installer should give you a vehicle-specific SDAT before you drive off, not a generic guess.
- Retest before you call it done. Run the soapy-water test again once the urethane has fully cured, and check the headliner and dash for dampness after the next rain. Recurrence within the first few months usually points back to incomplete rust removal, not a bad adhesive.
Pro Tip: Restoration technicians often apply a second, thin coat of metal prep or a rust-preventive coating even after the metal looks clean, specifically to catch the microscopic rust spores hiding in the steel’s pores that sanding alone can miss.
When to Hire an Auto Glass Shop or Body Shop Instead
Certain findings from your inspection should end the DIY conversation immediately: holes you can see through, metal that feels soft or spongy under an awl, pitting that covers more than a small patch, or evidence that a previous repair used filler instead of proper metalwork. Any of those means you’re now shopping for professional help, and the type of shop matters.
Auto glass shops handle glass removal, resealing, and urethane bonding. Auto body shops handle the welding and metal fabrication that rot-through corrosion requires. Many glass shops will inspect first and simply decline to reinstall a windshield over compromised metal, referring the metalwork out before they’ll touch the glass. That’s a sign of a shop doing it right, not a shop being difficult.
Before you commit, ask a few pointed questions:
- Do you perform metal repair in-house, or do you refer that work out to a body shop?
- Which primer and urethane brands do you use, and what’s the SDAT for this vehicle?
- What does your warranty or no-leak guarantee actually cover, and for how long?
- If my ADAS sensors were disturbed during the work, is calibration included or billed separately?
Ask for before-and-after photos of comparable rust jobs, and get any warranty in writing before the appointment ends. A good auto glass shop will hand you documentation without you having to push for it.
Pro Tip: If a shop hesitates to answer the primer or SDAT question specifically, that’s worth noting. A technician who knows the process will have those answers ready without checking a manual.
How to Prevent Rust From Coming Back
A proper repair or replacement resets the clock, but it doesn’t make your car immune to the conditions that caused the problem in the first place. A short seasonal habit does more to prevent recurrence than any single product.
Inspect the trim line and lower corners of the windshield each spring, right after the heaviest road-salt season ends. That’s when residue has had months to sit against metal and any new bubbling will be easiest to spot. Clean out the trim channels where debris and grit collect, since trapped dirt holds moisture against the seal far longer than an exposed surface would.
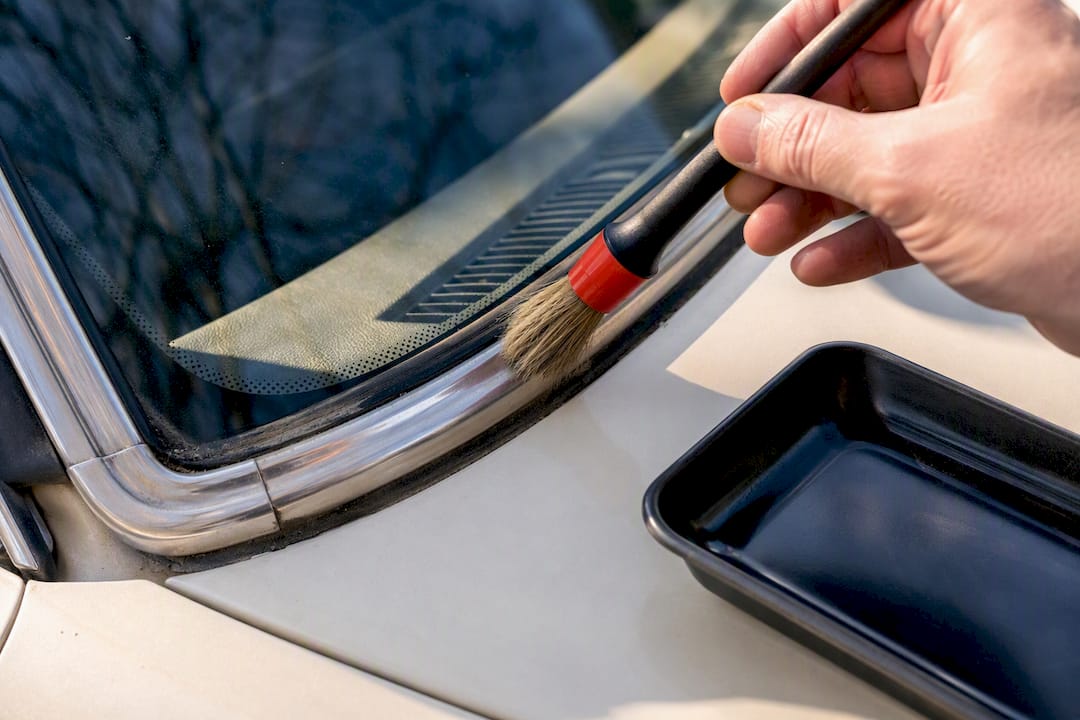
Replace gaskets and molding once they’ve hardened or cracked, rather than waiting for a leak to force the issue. Hardened rubber no longer flexes with temperature swings, and that’s exactly when tiny gaps open up. If your climate sees heavy winter salt use, a road salt protection treatment applied to the lower body and wheel wells reduces how much corrosive residue reaches vulnerable seams in the first place.
A few smaller habits round out the routine:
- Keep cowl vents and windshield drain channels clear of leaves and debris so water doesn’t pool against the frame
- Never substitute silicone caulk for proper urethane or gasket material around bonding areas
- Ask any installer to prime bare scratches immediately, even small ones, rather than leaving exposed metal for “next time”
What Does Rust Repair or Windshield Replacement Cost?
Cost and timeline both depend heavily on which severity bucket you landed in during inspection. A surface-rust DIY job might run $30 to $80 in materials: sandpaper, metal prep, primer, and urethane, plus whatever tools you don’t already own. Professional resealing for moderate cases typically runs into several hundred dollars once labor, glass removal, and proper primers are factored in.
Rot-through repairs cost more because they involve two trades. Body-shop welding and metal replacement gets billed separately from the glass shop’s removal and reseal work, and total cost climbs further if paint blending is needed to match the surrounding panel.
- SDAT for most urethanes runs anywhere from one to 24 hours, driven mostly by temperature and humidity at the time of application
- ADAS-equipped vehicles add calibration time and cost whenever the windshield comes out, since forward-facing cameras mounted near the glass need recalibration afterward
- The extent of metal replacement and how much paint blending the job requires are the two biggest swing factors in a body-shop estimate
Getting an accurate number for your specific vehicle means a shop needs to see the corrosion in person, or at minimum look at your inspection photos, before quoting anything firm.
What Experienced Techs Wish Every Owner Knew
Every technician who’s turned down a windshield job has a story about arriving to a “simple reseal” and finding filler smeared over rotted metal, or a pinch weld gouged by a previous owner’s angle grinder. Refusing that job isn’t the shop being difficult. It’s the shop refusing to bond structural glass to metal that can’t hold it.
The mistakes that show up again and again in DIY attempts are consistent: gouging the pinch weld with too aggressive a grinding wheel, skipping the acid-etch step because it “looks clean enough,” and grabbing whatever primer is on the shelf instead of one rated for pinch-weld bonding. Each shortcut saves twenty minutes and costs a redo.
Before you bring a car in, or before you call a repair done yourself, take photos that actually show your prep work: bare metal with no rust tint, an even primer coat with no missed spots, and a urethane bead with consistent height around the full perimeter. Good documentation isn’t paperwork. It’s proof the job was done in the order it needed to be.
— Collision Auto Glass & Calibration
Get Rust-Related Windshield Damage Assessed by a Professional
If your inspection turned up soft metal, holes, or a leak that keeps coming back no matter what you try, the safer move is professional assessment rather than another round of DIY patching. Some auto glass shops remove and re-bond windshields with rust-aware prep work, so hidden corrosion under the urethane gets addressed instead of sealed over.

Some auto glass shops offer a lifetime no-leak guarantee on installations, which especially helps in rust cases where a rushed reseal is a common point of future failure. If your vehicle has forward-facing cameras or sensors near the windshield, some shops handle ADAS calibration in-house rather than farm it out, allowing safety systems to be recalibrated during repair visits. Some shops offer same-day service and mobile installation in select areas, and may bill insurance directly when policies cover the repair.
Start with a windshield repair or replacement quote and send along photos of the corrosion if you have them. A technician can often tell you before the appointment whether you’re looking at a straightforward reseal or metalwork that needs to be scoped first.
Sources
- How To Repair A Rusty Windshield Channel | HotRod
- How to Repair a Rusted Windshield Frame | Autorivet
FAQ
What should I do if there’s rust around my windshield?
Run a soapy-water leak test around the perimeter and check the headliner for dampness, then photograph any bubbling paint or orange staining. If the metal probes soft with an awl, skip DIY and get a professional inspection before the corrosion spreads further under the urethane.
Can you drive a car with a rusted windshield frame?
You can usually still drive it, but a compromised pinch weld can reduce roof crush resistance and airbag performance, since the bonded windshield contributes to both. Treat visible rust as a repair priority rather than something to postpone indefinitely.
Will car insurance cover a rusted windshield frame?
Comprehensive coverage sometimes covers windshield replacement, but rust damage from wear, age, or a prior seal failure is typically treated as a maintenance issue rather than a covered loss. Check your policy specifics or ask your shop about direct insurance billing before assuming coverage applies.
How can I fix a rusted windshield frame myself?
Light surface rust can be sanded to bare metal, treated with a phosphoric acid metal prep, primed, and resealed with urethane as a realistic DIY project. Moderate pitting or holes require glass removal and, often, welding, which pushes the job into professional territory.
How long does a windshield rust repair take to cure?
Safe Drive-Away Time for most urethanes ranges from about one to 24 hours, depending on the specific adhesive and the ambient temperature and humidity at installation. Always get a vehicle-specific SDAT from your installer rather than assuming a standard wait time applies.
Recommended
- Can A DIY Repair Prevent Further Cracking?
- Why You Shouldn’t DIY Repair Your Car’s Windshield Glass
- 5 Tips on Choosing the Best Auto Glass Shop to Fix Your Windshield
- How Much Does It Usually Cost To Fix A Cracked Windshield?
🎧 Listen to This Article
Share
Recent Posts

October 24, 2026
Mobile Windshield Safety: What to Check Before a Tech Arrives
Mobile windshield replacement can be as safe as a shop job if the glass, adhesive, cure time and ADAS calibration are right. Here...

October 23, 2026
How ADAS Calibration Works, Step by Step
See how ADAS calibration works: static and dynamic methods, what happens in the shop, how long it takes, and when your car needs...

October 22, 2026
Do Tires Affect ADAS? What Changes and What Doesn’t
Do tires affect ADAS? Learn how tire size, pressure, wear and alignment can change sensor accuracy, and when a calibration check is worth...